Mobile-first menu
Built for one-handed browsing, with fast loading pages that work on a guest's own device.
- Categories and search
- Allergen and dietary labels
- Modifiers that make sense
How it works
WaiterAssistant handles the repeatable parts of service so your team can handle the human ones.
From table to ticket
Guests open your menu in their browser. No download and no account standing in the way.
Dietary notes, modifiers, sold-out items, and dish imagery make ordering feel certain.
The right details arrive with the order, so the team can move without translating requests.
Built for one-handed browsing, with fast loading pages that work on a guest's own device.
Capture the details up front and keep the guest informed from confirmation through service.
Update the menu in moments, not in a reprint cycle, from a workspace your team can learn quickly.

For the whole shift
Whether you're managing a lunch rush or a long Saturday dinner, the right information is already where your team needs it.
Go deeper
What they are, why dining rooms keep switching, and the habits that separate a QR menu guests love from one they tolerate — all in one field guide.
A practical read for operators weighing the switch from print.
Read the guideGetting started
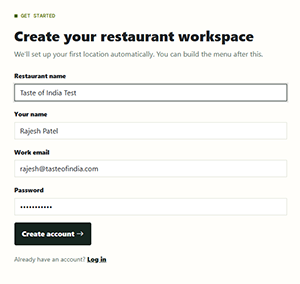
Set up your restaurant workspace in minutes. Add your business details and you’re ready to start building your menu.
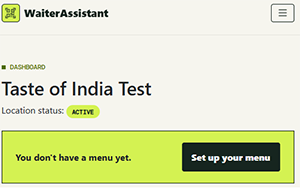
Organize your menu into categories that match the way your kitchen works, from starters to dessert.
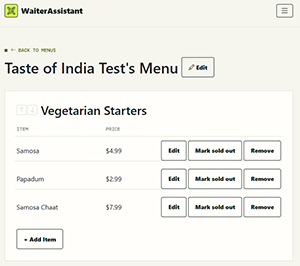
Fill in dishes, descriptions, and prices. Update anything anytime, no reprint required.
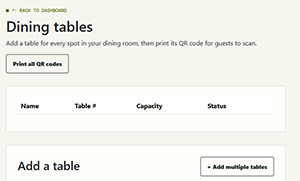
Add every table in the room. Each one gets its own unique QR code, so an order always knows exactly where it’s headed.
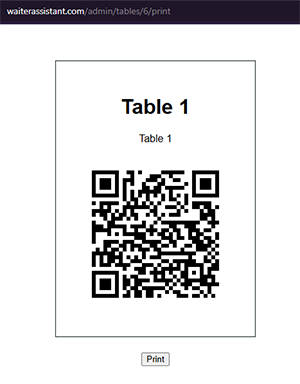
Print each table’s code and set it out where guests will see it. Hand it to your designer first if you want your logo and branding on it.
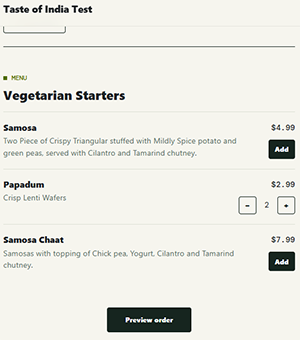
A guest scans the code, browses the menu, and places their order right from their own phone, no app required.
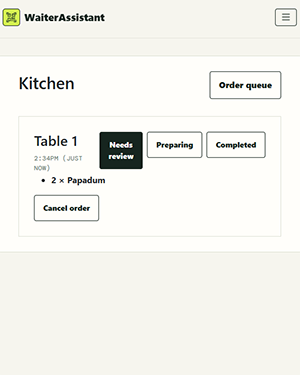
The order lands instantly wherever your kitchen is watching — a tablet on the pass works well — so the team can start cooking right away.